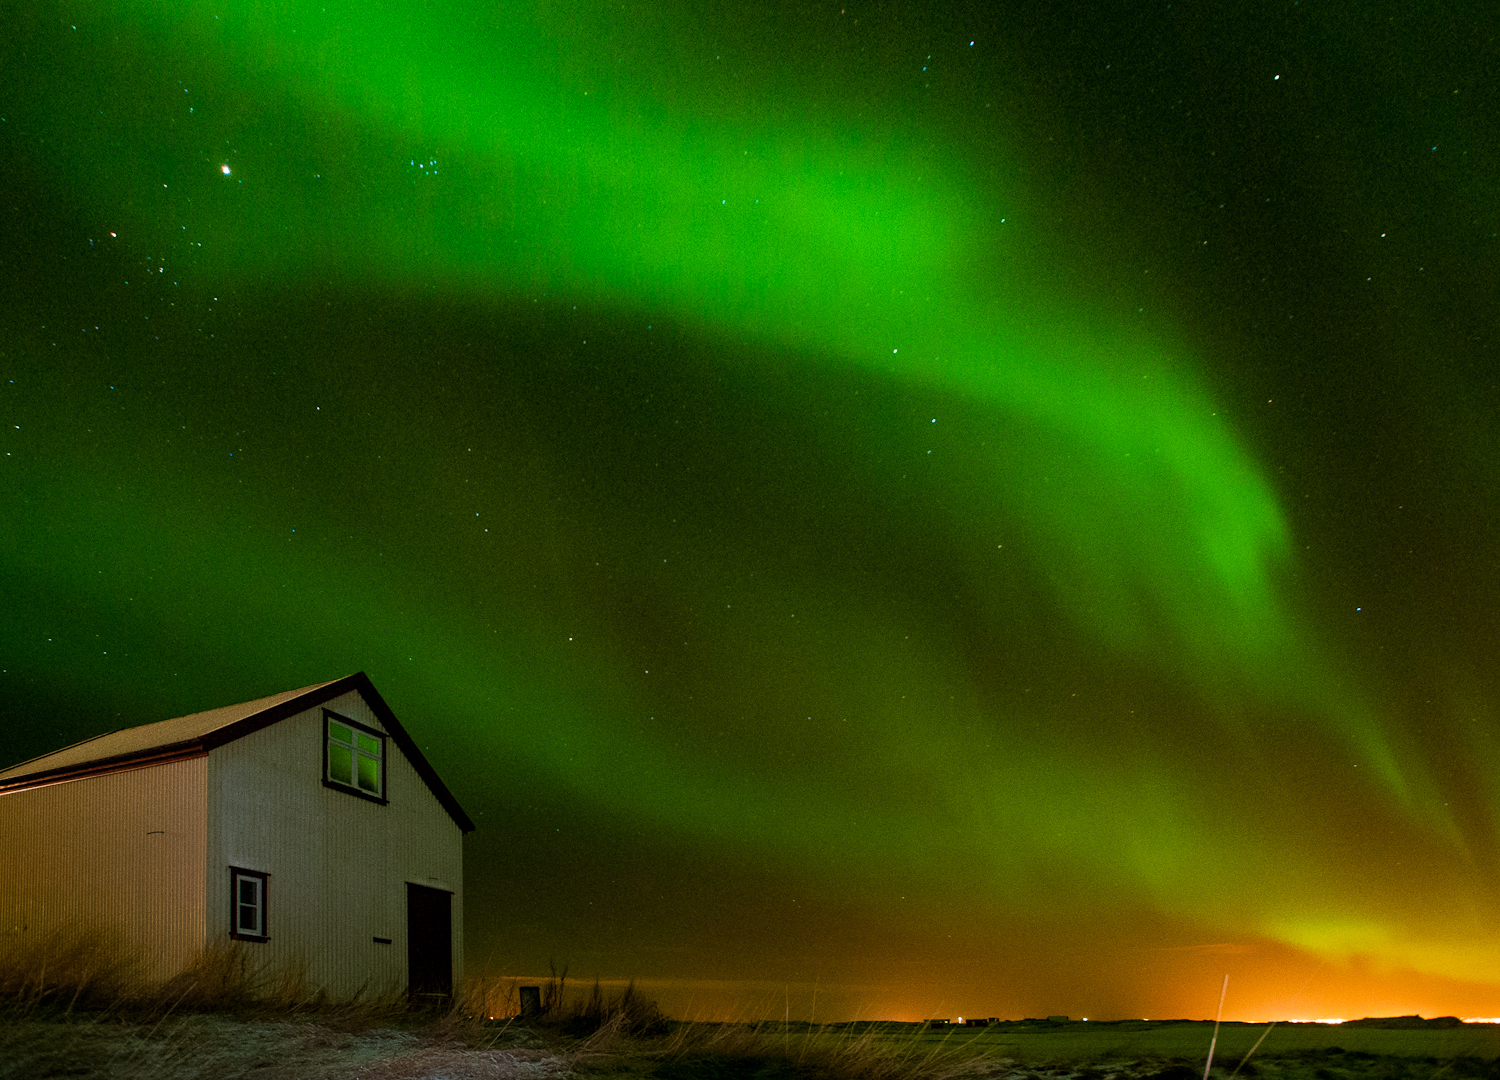
The northern lights are Mother Nature’s best light show. More emotive and spectacular than any New Year’s fireworks spectacle, they’re sure to leave an indelible mark on anyone fortunate enough to cast their eyes toward the sky to see this phenomenon play out. And of course, you should be able to catch them in your camera properly. Here then are my tips for taking the best photos of the aurora borealis, from a past trip to Iceland.
The best things never come easy
If you want to gaze upon this cosmic wonder, you need to be at the right place at the right time. And the further north you travel the better your chances.
Destinations like Iceland and Norway’s northern regions offer some of the best options. Although the lights are always on display in these parts of the world, the almost-never-setting sun of summertime means they aren’t visible to the naked eye. Look to travel in winter for the most dramatic experience.

Staying out in cold Iceland air was completely worth it to catch this shot.
Smartphone fans, the answer isn’t in your pocket
To get the best images of the northern lights we need to maximize the intake of light. Ever notice how astronomer’s telescopes are huge? That’s because they’re trying to capture as much light as possible. By the same principle, a large lens is best for night photography and for shooting the northern lights. Digital SLR cameras are larger than our point-and-shoot cameras for good reason.

Taking photos of the night sky is not as tough as it looks.
The equipment
Tripod. First and foremost you need a steady photo. If there’s any movement to your camera, your photos will be blurry. And trust me, you won’t be able to hold it still with just your hands for this length of time no matter how hard you try.
Camera. Make sure you have a DSLR camera with the function to change the shutter speed. You’ll find this listed as TV (time value) on a Canon, or S (for shutter speed) on a Nikon. If you have another brand be sure to look for a shutter speed of at least 10 seconds.
Countdown timer. Use this built-in feature to allow for time to rest after the inevitable movement to the camera that pressing the push-button to take the photo creates on the tripod.
The process
• Fix your camera to the top of the tripod at the widest zoom possible; you want to capture as much as the of the night sky in the image as you can.
• Set your camera’s shutter speed to 10 seconds.
• Set your camera’s countdown timer to 5 seconds minimum.
• Take the photo.
The camera will count down for 5 seconds, followed by 10 seconds of exposure. During this time the lens of the camera will open, allowing plenty of light to hit the sensor. At the end of the 10 seconds you should have a photo of the northern lights.
If the image is still too dark, consider setting the shutter speed to a longer duration such as 15 or 20 seconds. Alternatively, look to adjust your camera’s ISO value (light sensitivity). Set this to a value of ISO 800 to begin with and work up incrementally until you’re satisfied with the result.
So, why 10 seconds?
A normal photo captures the night sky for a very brief moment (generally 1/100 of a second) and this is why night photos tend to come out dark. Giving the camera at least 10 seconds of exposure gives it more time to absorb light, thus resulting in a brighter image of the night sky.

Give your camera enough time to absorb the light.
Want to be in the photo?
Set your timer to 10 seconds or more and then jump into the frame! Be sure to remain as perfectly still as you can for the whole time or you’ll appear as a ghost.

Set the timer, hop in the frame and be as still as you can!
So that’s a quick overview of photographing the northern lights, there are other tips and tweaks you can do to ensure better images, but they’re far too many to cover here. Many resources can be found online explaining these techniques in greater detail, along with further tutorials for post processing to really make your photos pop.
If you do get the chance to join us in Iceland, remember to dress warmly and to put fresh batteries in the camera. I wish you the very best of luck in capturing one of Earth’s greatest spectacles.
Originally published July 2, 2015. Updated on November 16, 2020.
Getting There
G Adventures runs a number of departures in Iceland encompassing a wide range of departure dates and activities to cater for different tastes. We’re thrilled at the prospect of showing you this big blue planet of ours — check out our small group trips here.


