
The Eiffel Tower, quaint street scenes, public art, historic architecture. Paris is rife with photogenic moments. You’ll want to try and capture all that you can in the City of Lights, but what about the places where your camera’s flash is not allowed?
I’m speaking specifically of the ornate and impressive interiors of cathedrals in Paris. The stained glass, Baroque columns and interior details are a true marvel to gaze at — and quite a pain to photograph. In order to protect the art, many museums, churches and other historical places will prohibit flash photography as it can be to the detriment of the art itself. But also, your camera’s flash simply will not help with a ceiling 24m (80 ft) above you.
Here’s a list of tips to help you capture the true details of these tricky-to-capture scenes.
Settings
The first thing to realize is your camera has limits and it needs light in order to make a photo. You can help it gather more light by increasing your camera’s ISO setting. But not too much! Setting a limit on your camera’s ISO (usually around 800–1600) will help in low-light situations and will also attempt to prevent ugly sensor noise from detracting from the overall elegance of the image.
Next, open up your aperture. If your camera has an Aperture Priority mode (signified by the symbols A or Av) use it to let in even more light. Choose the smallest numbered aperture you can (usually f/3.5 or f/1.8). This has the same effect as dilating your pupils and lets in all kinds of light.
Turn off your flash, please. It’s not going to help bring out the beauty of those high ceilings and will only annoy others trying to appreciate the dimly lit areas.
Open up your aperture to let more light in.
Create a story
The surest way not to get frustrated with the lighting inside cathedrals is to not try to get it all in with one shot. Create a story out of multiple images by picking and choosing the best subject for each image. The light will be mixed and parts of your image might be pitch black because of the bright light streaming in. That’s OK!
Take one shot of the bright stuff and then expose one for the dark areas (and let those light areas become totally blown out). Chances are you will be sharing more than one image with your friends and family, so use that to your advantage by presenting a series of images to highlight one beautiful cathedral.
Subjects
Details matter and deserve attention. These candles in Notre Dame, for example, would be lost if I was just taking wide angle shots of the massive space inside the cathedral. Get close, get details.

Let details help you to tell a story.
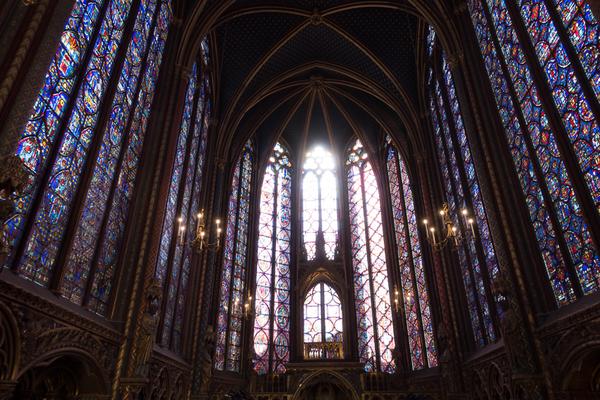
Stained glass windows are often a favourite image choice, but they can be daunting to try and capture. As above, I suggest taking more than one shot to tell the story you see. Get the wide angle version, but also zoom in on specific panels. The size of the windows will only be evident if you bring in other elements around them.
Include other elements in the frame to help show the size of the stained glass windows.
If the light in the windows is too bright, use your camera’s exposure compensation feature to underexpose the scene and bring back those details.
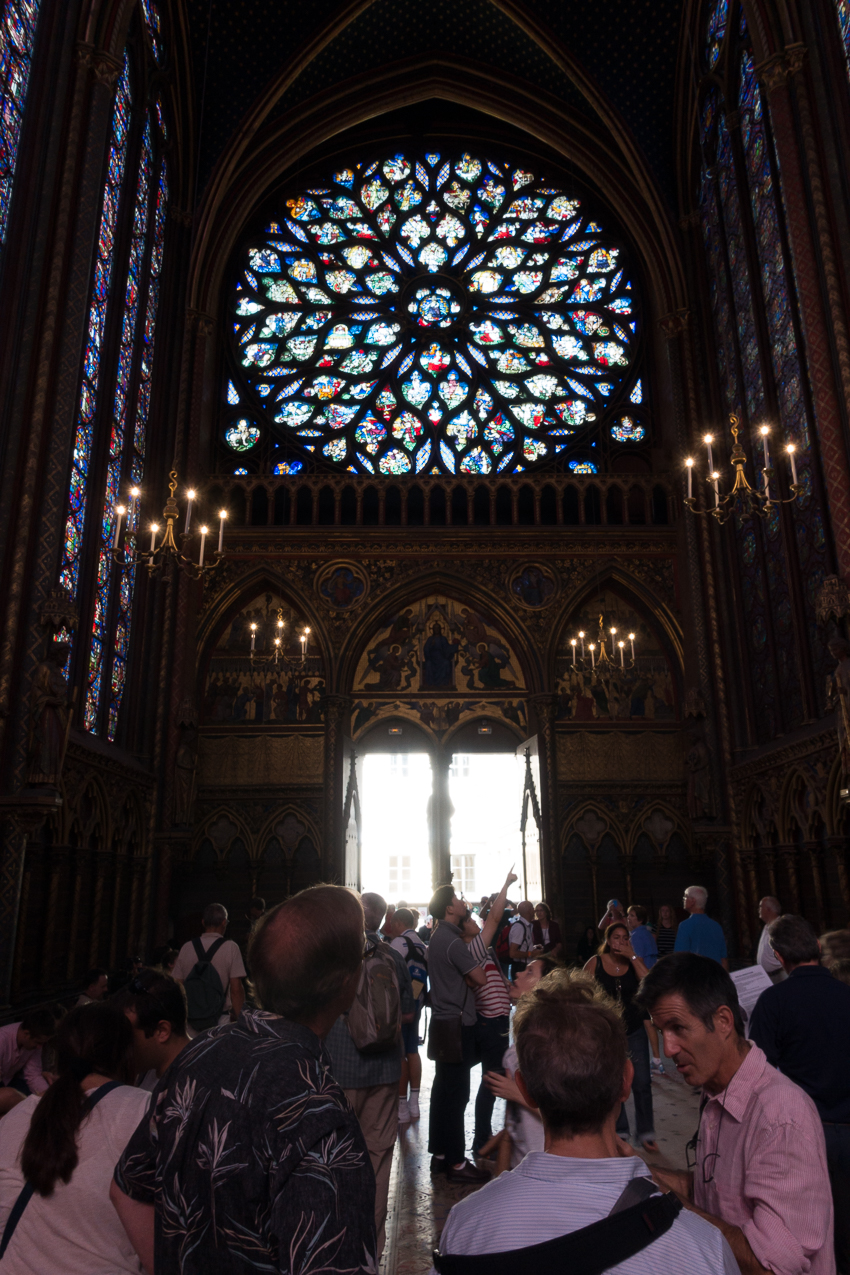
Don’t forget the walls and paintings. Put them in some context by showing them and the stained glass inside and out. It’s OK, in this case, if the stained glass gets overexposed or if there are people in your images.

Zoom in on specific panels.

Including details like the supporting walls helps to add context.
Technique
Brace – When the light is low, the shutter speed will be slow. This means you often need to brace against something to stop yourself from causing the camera to shake. A pillar, a desk, anything that can help you be steady.
Breathe – To take a photo in low light you need to be relaxed. Tensing up while holding your breath leads to shaky photos. I speak from decades of experience and failure. Inhale a slow breath just before taking your photo. Then exhale slowly and lightly press the shutter release. Shooting on the exhale will increase your chances of a blur-free photo.
Simply Be – Good photographs are created after careful observation of not only the subject, but of how light falls on the subject. This means taking some time with the camera set aside and using your own eyes and open-mindedness to observe the design, patterns and beauty before you. Soak it all in before acting on your desire to “freeze time” with your camera.

Got a phone? Go for panoramas both horizontal and vertical.
Shooting inside can be a daunting task, but is worth the effort to capture the grandeur and beauty of what likely took decades to build and still stands to this day.
Getting There
G Adventures runs a number of departures in France encompassing a wide range of departure dates and activities to cater to different tastes. We’re thrilled at the prospect of showing you this big blue planet of ours — check out our small group trips here.


